

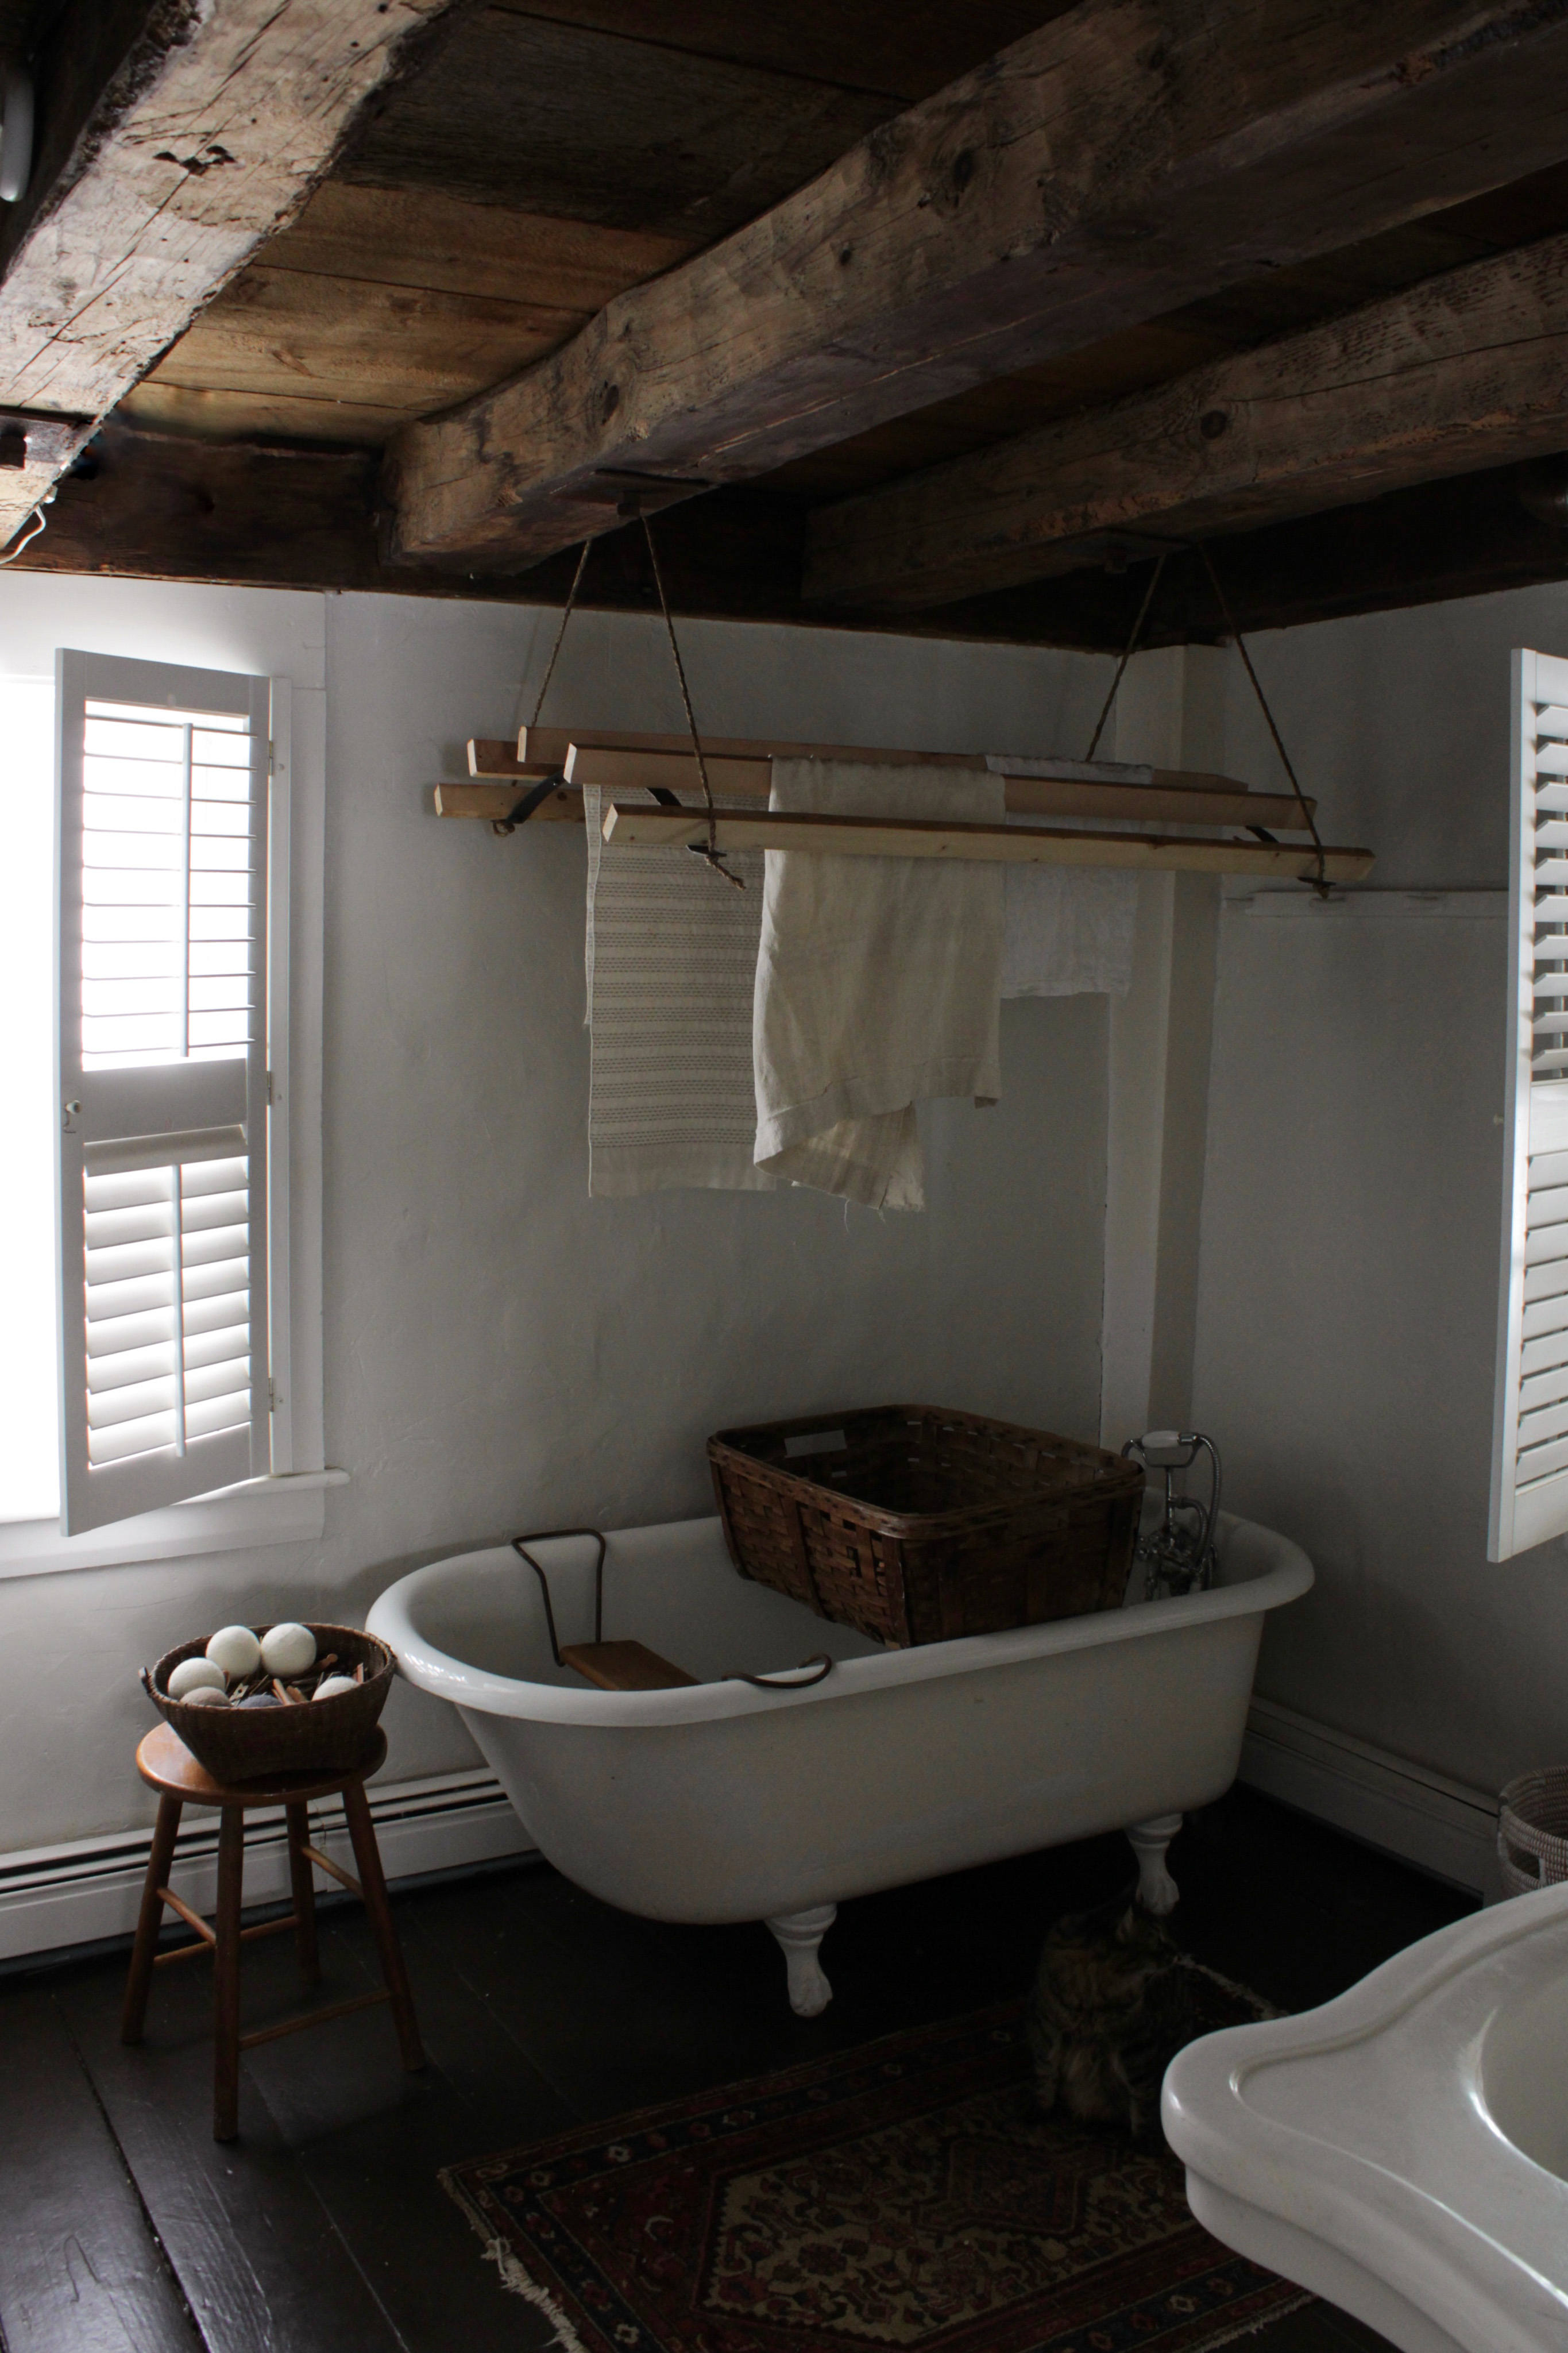
A good number of us on the Remodelista team are followers of Hitchfoot Farm on Instagram: First Fan and Margot caught on, then me, and we all quickly became captivated by Bess Piergrossi’s moody vignettes in her rough-hewn Maine farmhouse that look like they’re out of times past.
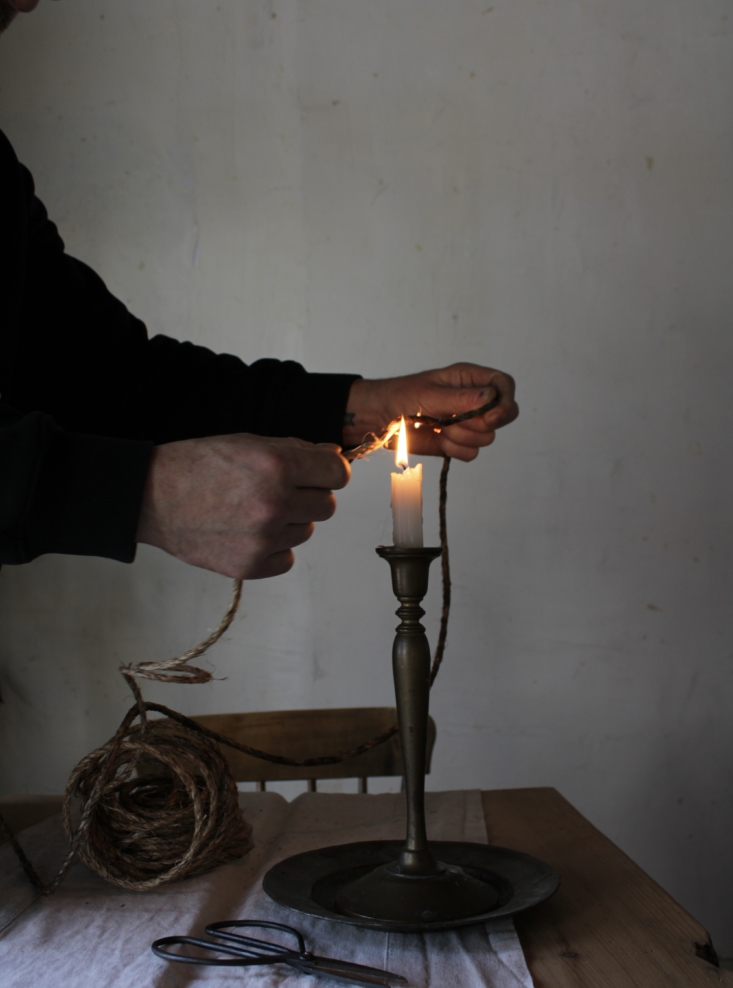
When Bess told us she was working on a DIY laundry rack inspired by deVol’s Laundry Maid (our all-time favorite) and made completely by hand, we wanted all the details. And she sent back a step-by-step how-to—complete with characteristically charming, old-fashioned scenes of hand-stretching rope by the hearth, singeing rope ends in candle flames, and hardware forged by her local blacksmith.
Here’s a look, with instructions by Bess:
Photographs by Bess Piergrossi.

Materials
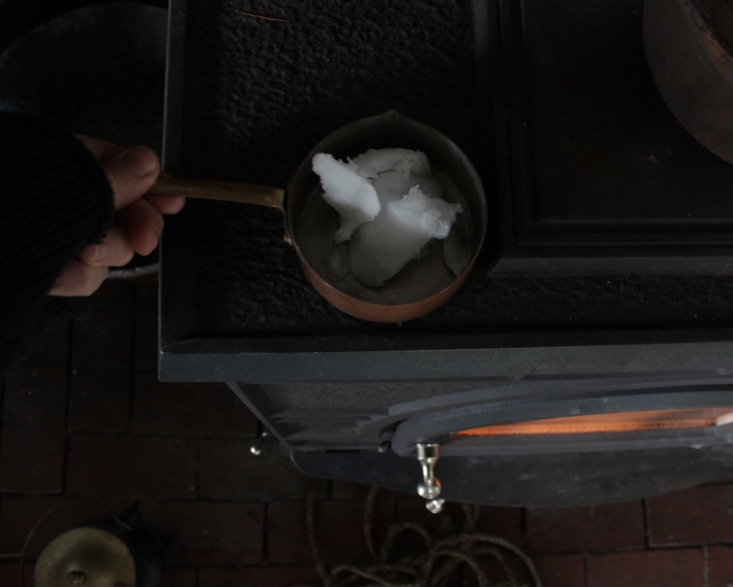
- 10′ of 1/4″ rope (if rope finishing, tbs coconut oil is optional)
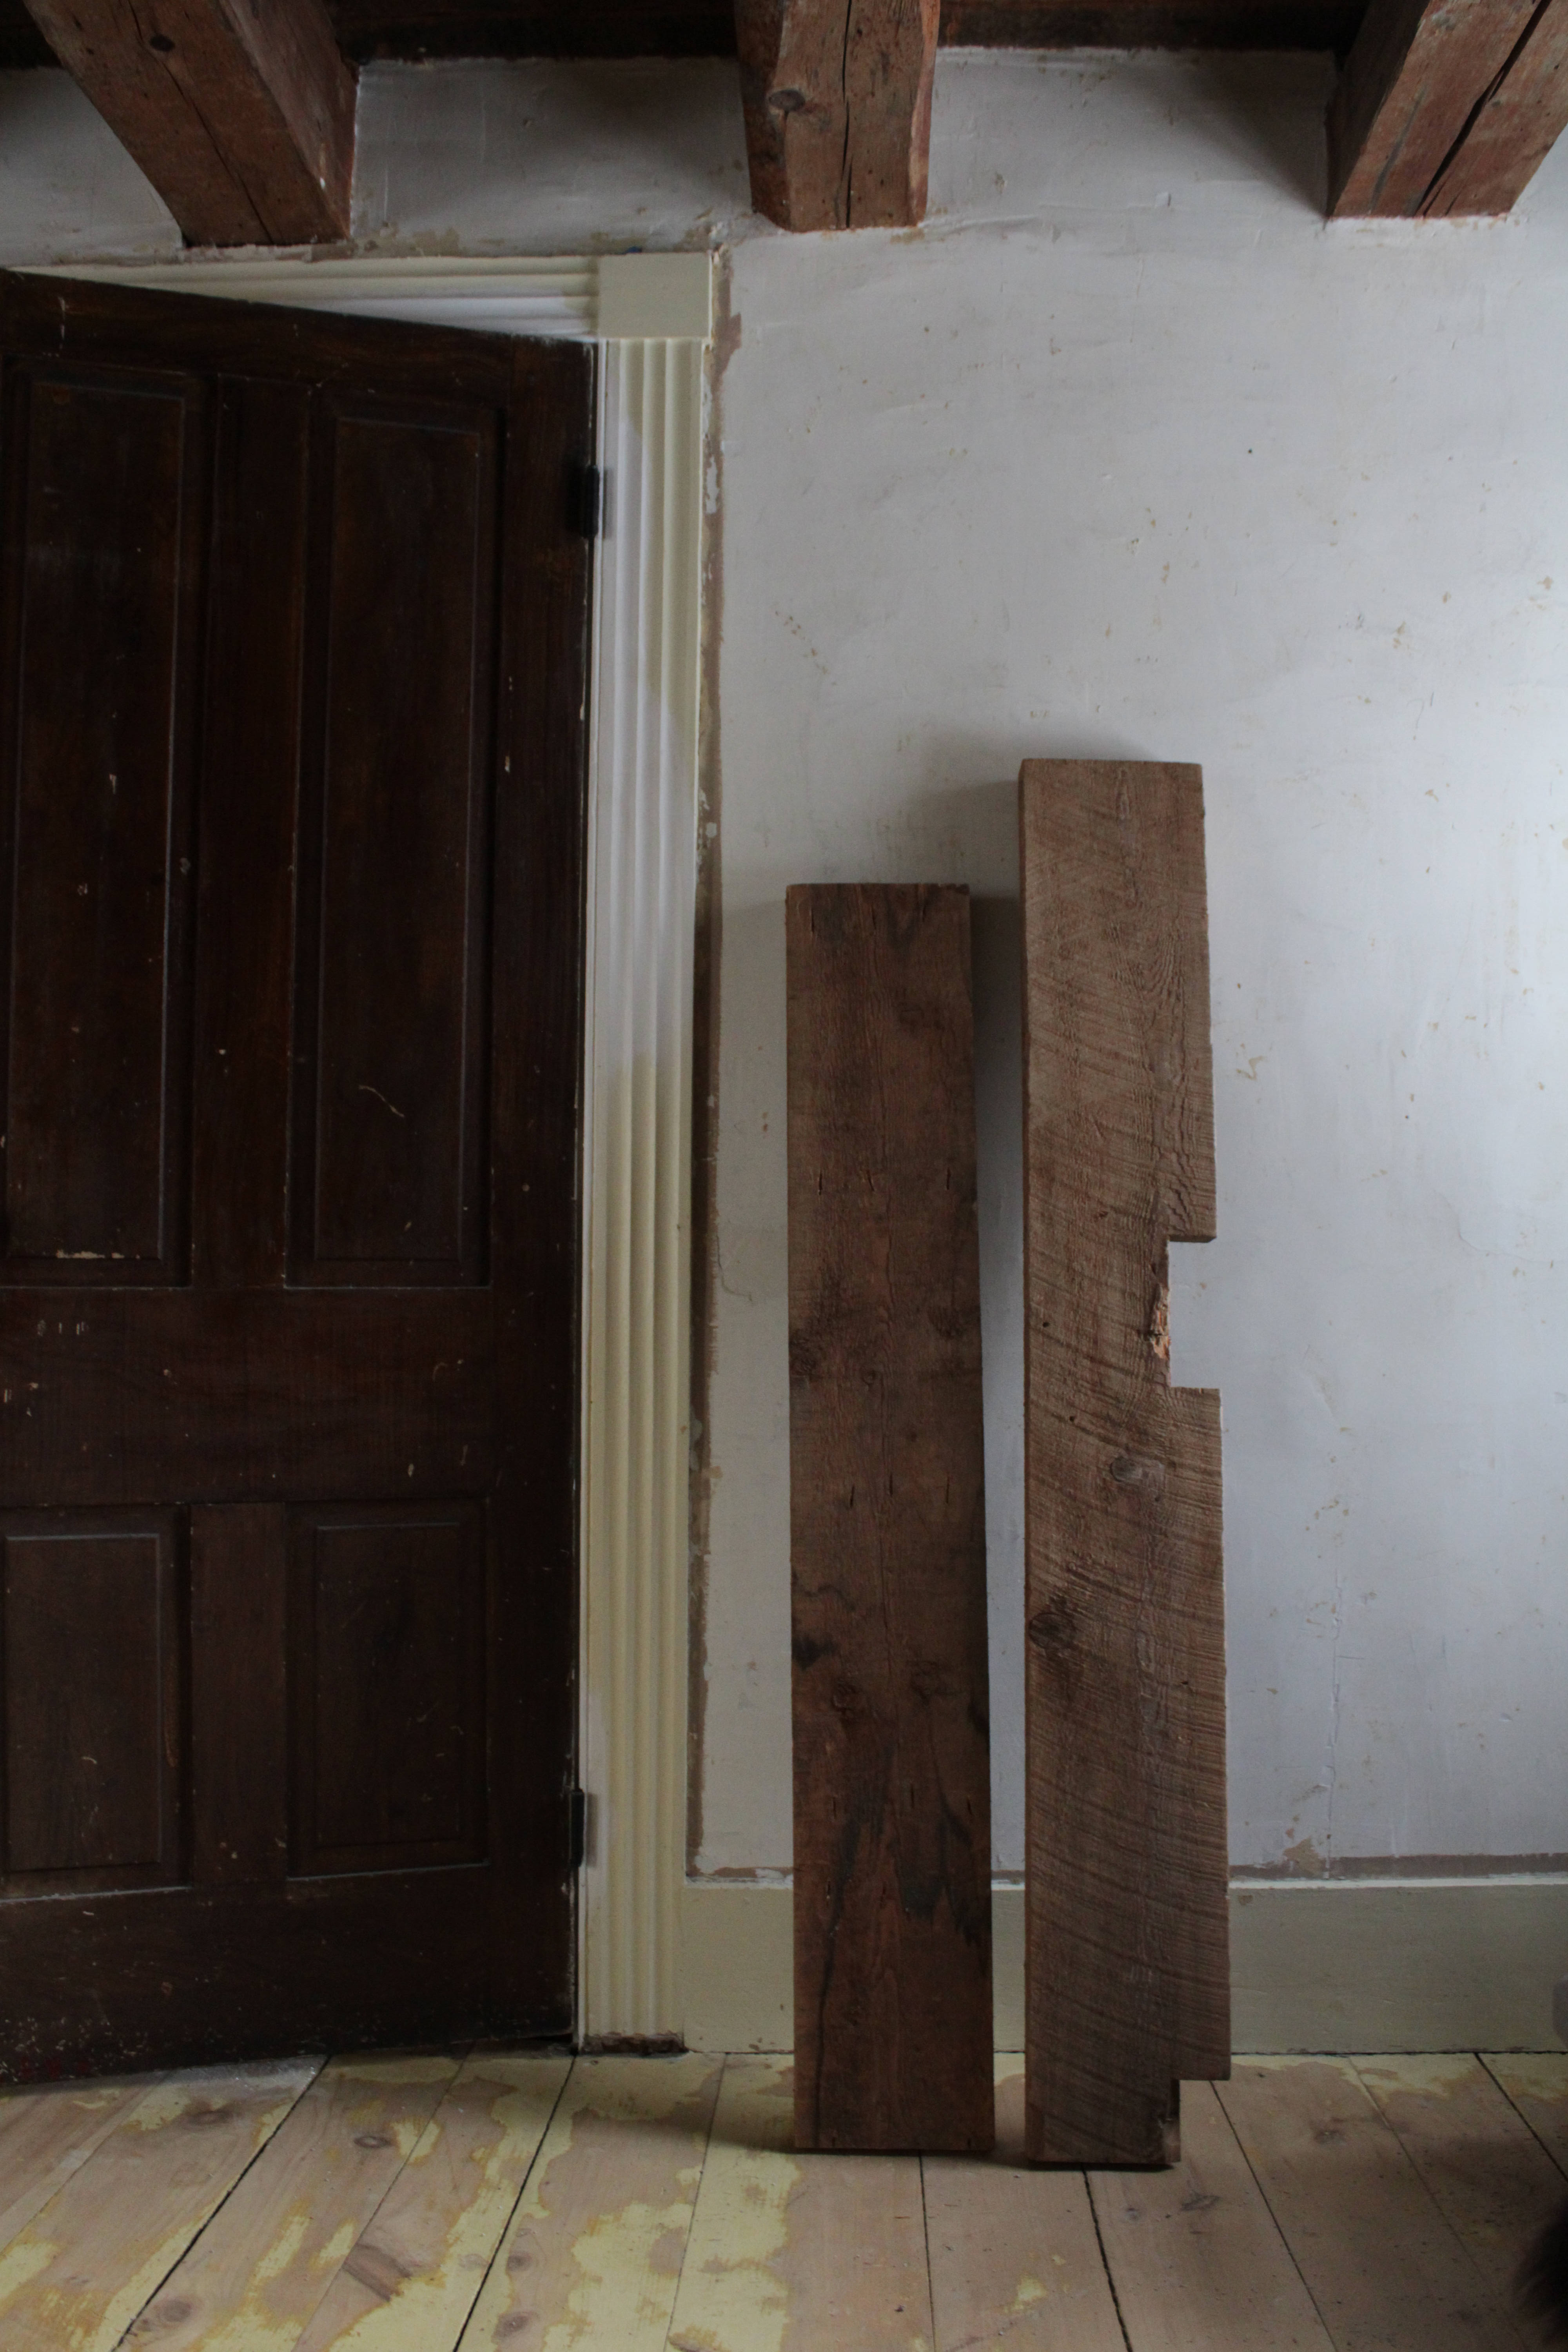
- 2″ thick wood boards, approximately 8″ wide and 48″ long
- 10 bolts or screws to match the size of the holes in your brackets
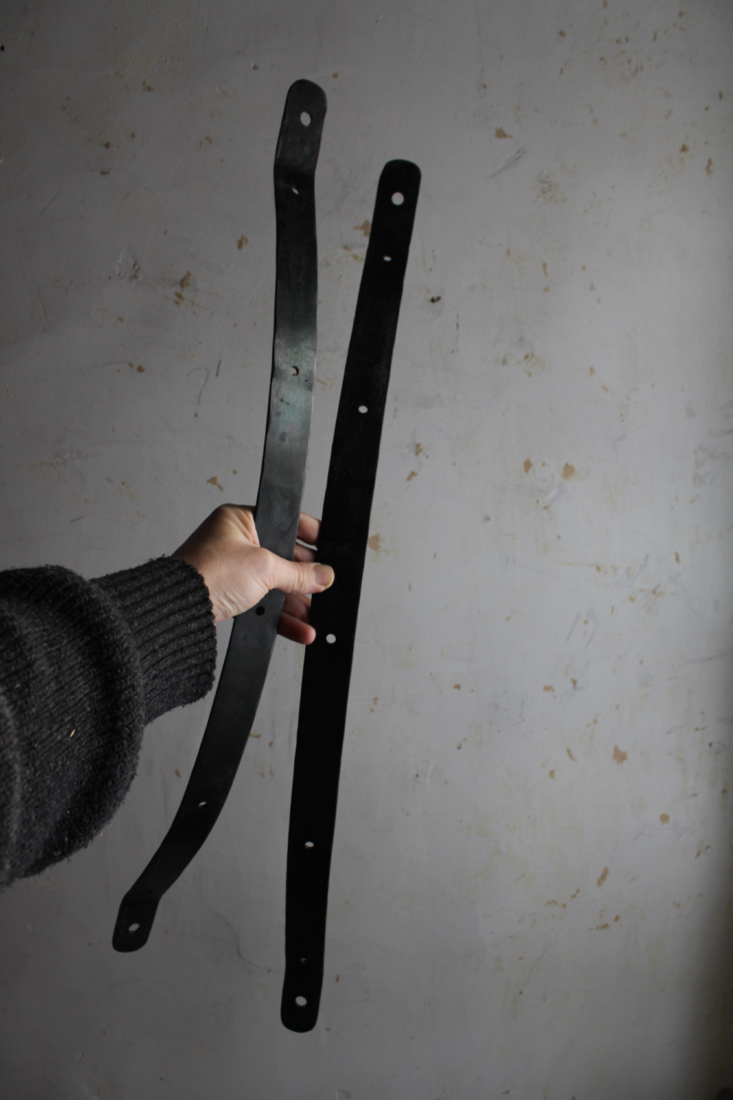
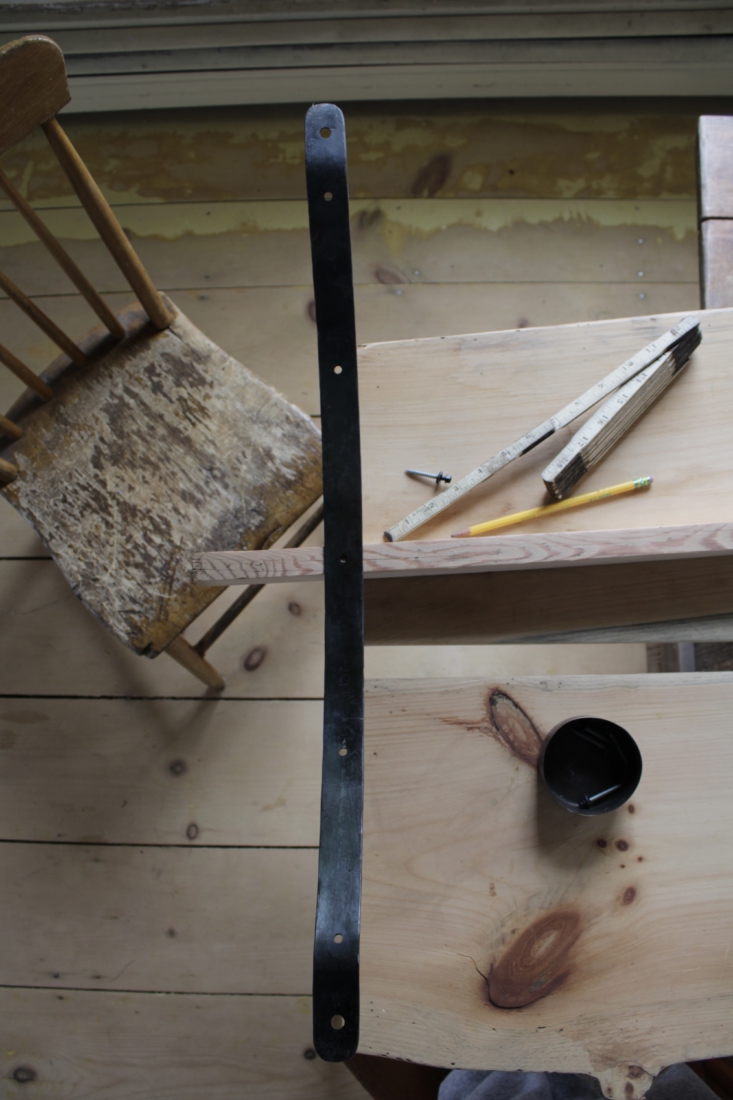
- two steel curved brackets (made by our local blacksmith, but can be made by any local metal fabrication shop)
First, a note on steps 1 through 4, rope finishing: “This process is not necessary, but we were not happy with the rope selection at our local hardware store and took it upon ourselves to finish the rope through the following steps,” says Bess. “But it is purely aesthetic, and if you find a rope you are happy with, that will suffice!”
1. Singe the rope.
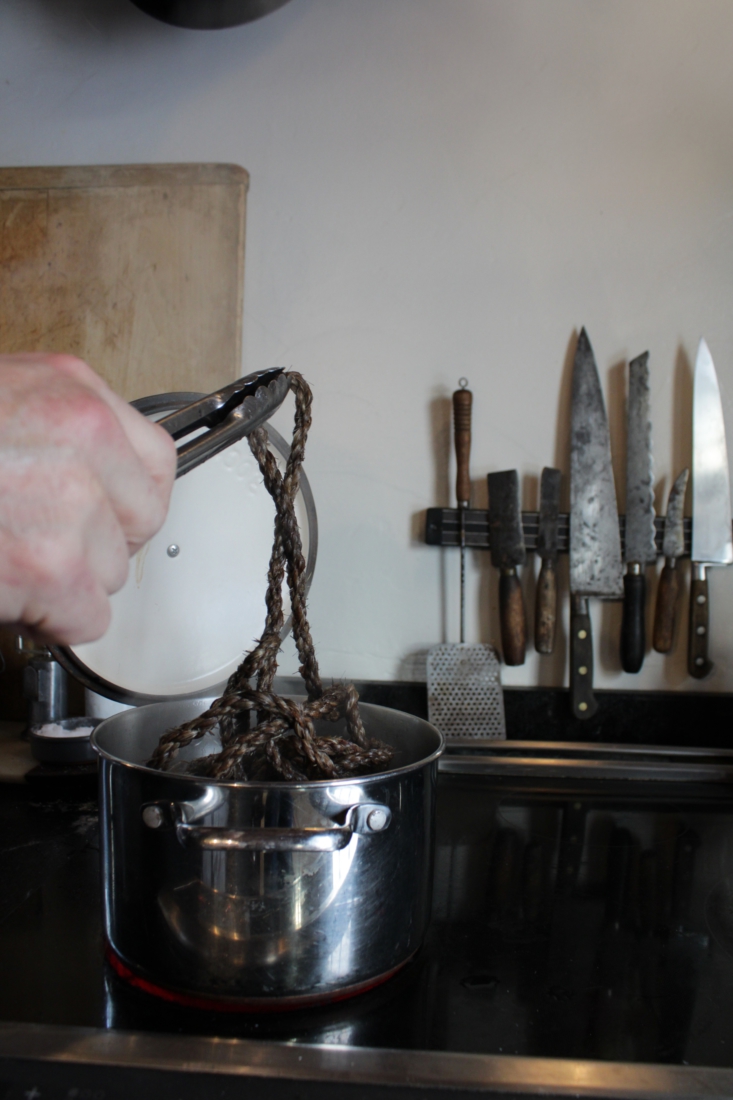
2. Then boil.
3. And dry.

4. Oil a little.
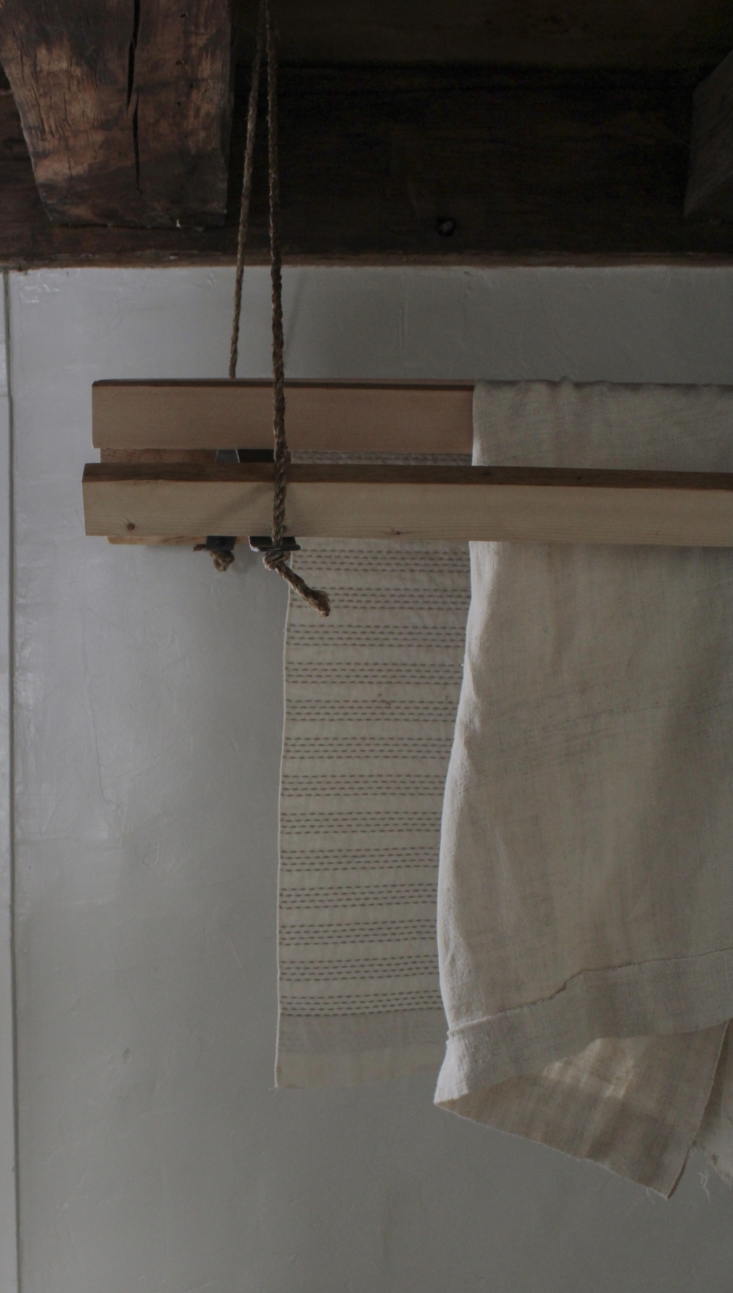
5. Add brackets.
6. Salvage wood.
7. Prepare the slats.
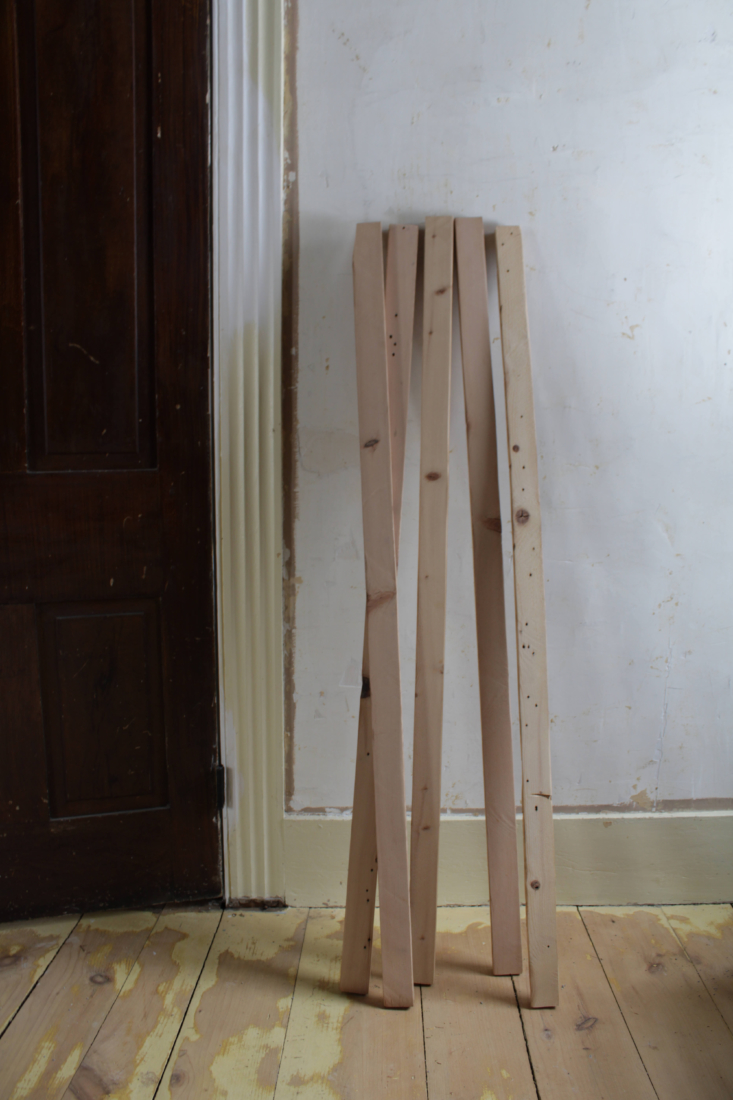
8. Place the slats.
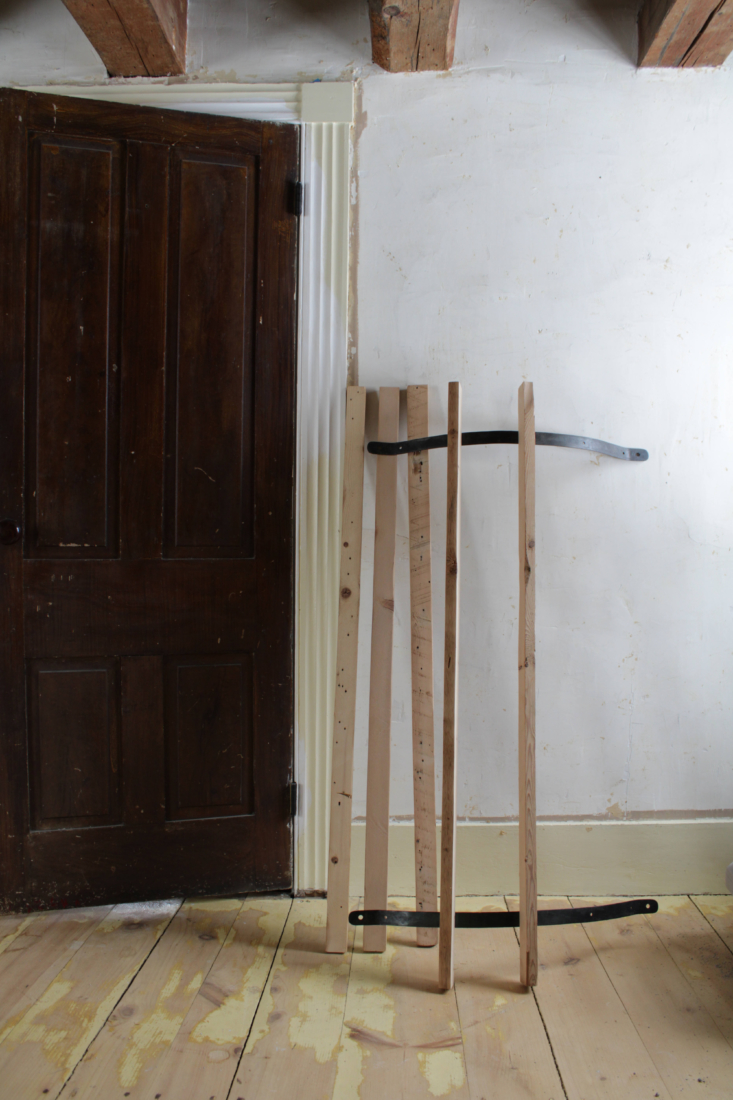
9. Tie and hang.
For more DIY projects, see:


Have a Question or Comment About This Post?
Start the Conversation