

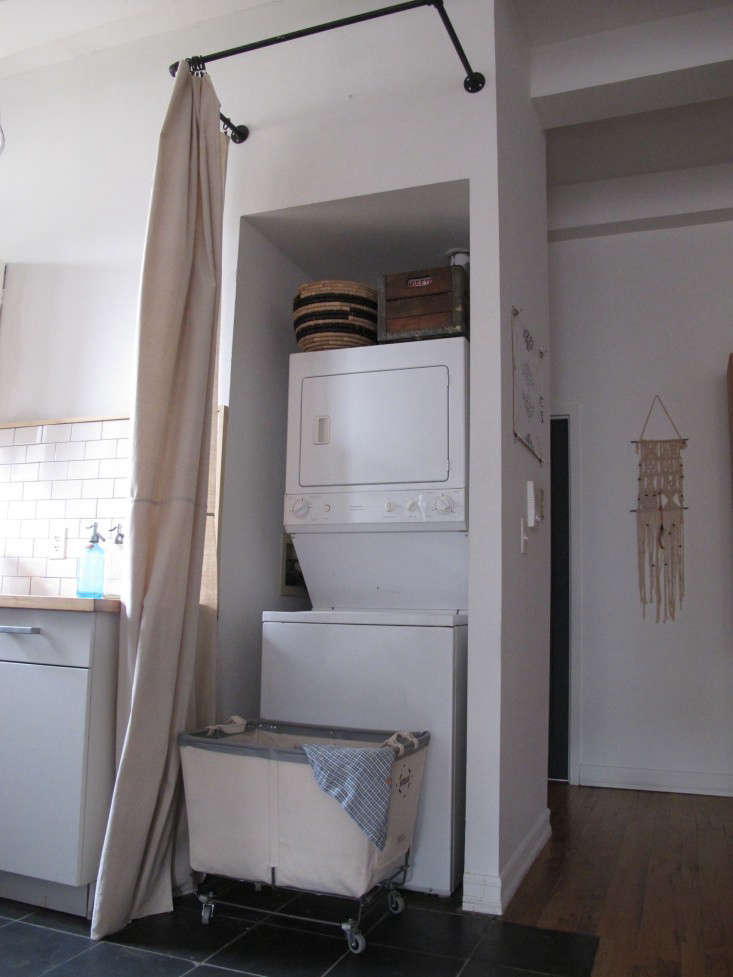
Like most people in New York, my wife, three-year-old son, and I live in an apartment that lacks storage space. When we moved in, I was stoked to have our own washer and dryer–a first for us–but not to look at them. Since our place is a rental, I didn’t want the project to get too involved and I didn’t want to spend much, so I put up this simple curtain that not only conceals the washing machine and dryer (which are set in a recessed space) but also provides us with a bit of storage for the vacuum, hampers, and cleaning supplies.

Above: Our curtained laundry/utility closet is located in a corner of the kitchen, just off the front door. Ready to make your own? It’s easy and supercheap.
Materials
- A drill and drill bit
- Tape measure
- Level
- Pencil or pen
- Three pieces of plumbing pipe sized to fit your needs. I used one 1 1/2-Inch By 3-foot Black Steel Cut Pipe, and two 1/2-inch by 3-foot Black Steel Cut Pipes; all $8.73 each at Home Depot.
- Two flanges. I used 1/2-Inch Black Iron Flanges; $4.52 each at Home Depot
- Two pipe elbows. I used 1/2-Inch Elbows; $1.54 each at Home Depot
- Black spray paint. I used a can of Rust-oleum Professional Black Gloss Enamel; $31.62 for six at Home Depot
- 8 screws with anchors that can hold up to 100 pounds
- Curtain rings. I used black Ikea clip-on Syrlig Curtain Rings; $4.99 for a 10-pack
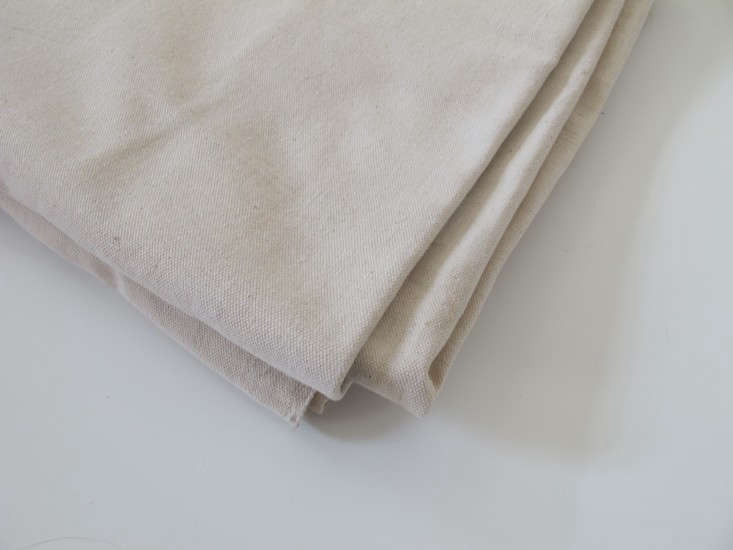
- Curtain. I used a natural-colored Canvas Drop Cloth; $23.98 at Home Depot

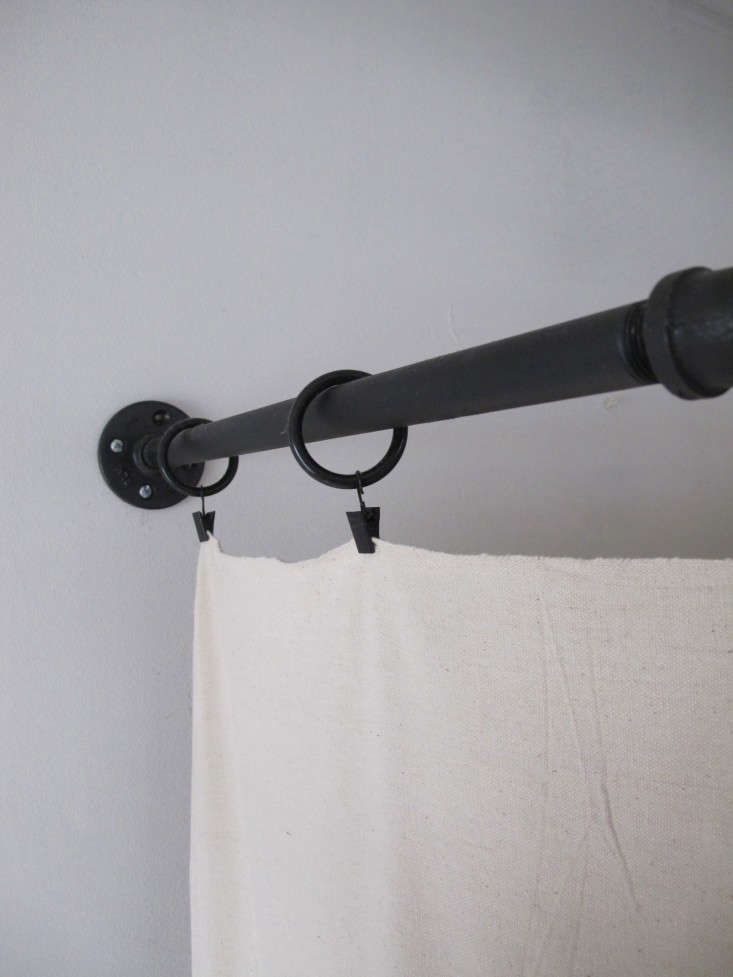
Above: The ingredients for the frame: three pieces of pipe (two fitted with flanges, one with pipe elbows) and curtain rings.

Above: The only tools you need.
Instructions
Step 1: Measure the area that needs covering and figure out the width and height of your closet. When choosing your pipe lengths, figure out what you’re going to be putting behind the curtain. Since we were in need of storage, I built out our closet about a foot to pick up more space.
Hardware stores sell pipes in precut sizes, but if you need of a pipe that’s larger or smaller, most places will cut and thread it for you.
Step 2: If you plan to paint your pipes, elbows, and flanges, it’s wise to do so before screwing them together (so you can easily disassemble them if you ever need to). Go light with the spray paint to avoid drips and apply as many coats as needed until well covered.
Step 3: When the paint is completely dry, put curtain rings on and then screw the parts together.
Step 4: Use a level to make sure your frame is straight before hanging it. When you have it in position, mark the area that you need to drill with a pen or pencil.
Step 5: Drill four holes into each side of the wall and insert anchors.
Step 6: Hold the frame back up to the wall, line it up with the anchors, and screw in the screws until tight.

Step 7: Slip the curtain onto the rings and you’re all set!
The Finished Look

Above: Eyesore resolved–or at least an improvement.
Above: Our laundry bin can be camouflaged by the curtain.

Above: The area above the washer/dryer may not the easiest spot to reach, but we’ll take any storage we can get.

Above: The design would also work well as a broom or even a clothes closet.

Feeling handy? Take a look at some other easy DIY Projects:


Have a Question or Comment About This Post?
Start the Conversation